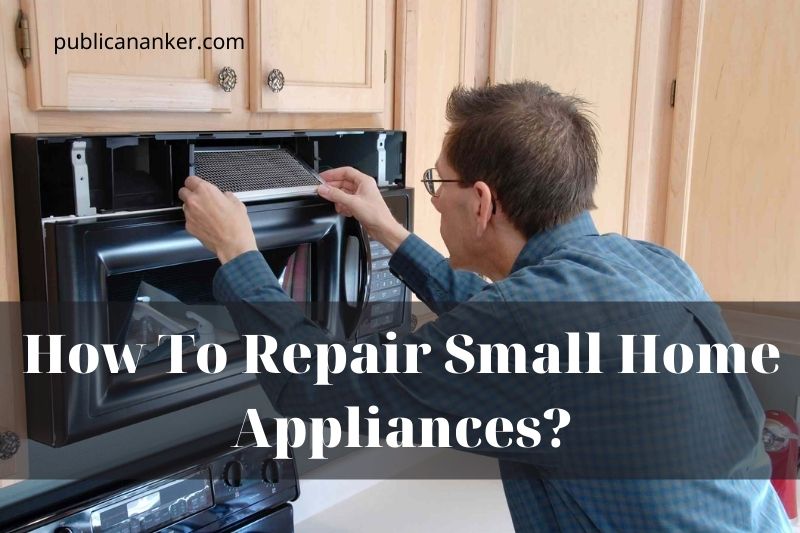
From toasters and blenders to coffee makers and vacuum cleaners, small home gadgets are used often throughout the day.
However, like any machine, these appliances can break down or stop working properly over time. Instead of replacing them, learning how to repair small home appliances can save you time and money.
By understanding the basic principles of how these appliances work, you can extend the life of your appliances and keep them running smoothly.
In this guide, Publicananker will provide some general tips and answers to common questions about how to repair small home appliances.
How To Repair Small Home Appliances
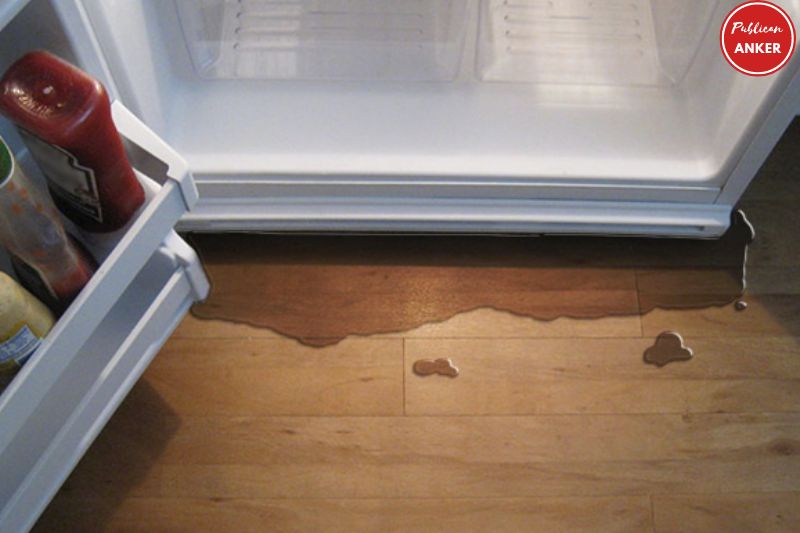
Leaking Fridge Fixes
A leaking fridge can be annoying and potentially damaging to your home. Before attempting any fixes, unplug the refrigerator and make sure to mop up any excess water. Here are some common causes of a leaking fridge and ways to fix them:
Blocked or clogged defrost drain:
- Locate the defrost drain, usually found in the freezer or refrigerator compartment.
- Remove any visible debris, and use a soft brush or pipe cleaner to clean the drain.
- Pour a mixture of warm water and vinegar or baking soda down the drain to help dissolve any buildup.
- If the clog persists, use a plumber’s snake or a long, flexible brush to remove the obstruction.
Damaged or loose water supply line:
- Check the water supply line connected to your refrigerator’s ice maker or water dispenser.
- Ensure the connection is tight and secure. If it’s loose, tighten it.
- Inspect the line for any visible damage, such as cracks or kinks. Replace the line if necessary.
Damaged or leaking water filter:
- Inspect the water filter for cracks or damage.
- Ensure the filter is properly installed and seated correctly.
- Replace the filter if it’s damaged or overdue for replacement.
Leaking or cracked drip pan:
- Locate the drip pan, typically found beneath the refrigerator.
- Inspect the pan for any cracks, leaks, or damage.
- If the pan is damaged, replace it.
Malfunctioning door gaskets:
- Inspect the door gaskets for damage, cracks, or wear.
- Clean the gaskets with warm, soapy water and a soft cloth.
- Replace the gaskets if they’re damaged or no longer sealing properly.
Overfilled or improperly leveled fridge:
- Make sure your fridge isn’t overfilled, which can block air vents and cause condensation to build up.
- Check if your refrigerator is level; if not, adjust the leveling legs or use shims to correct the imbalance.
- If you’ve tried these fixes and your fridge continues to leak, it’s best to consult with a professional appliance repair technician.
Dryer Fixes
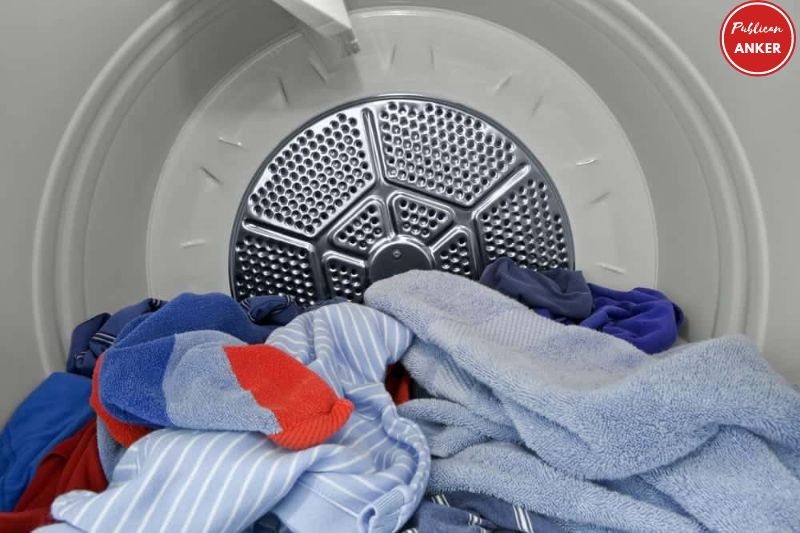
Keep Your Dryer Quiet
- Leveling: Make sure your dryer is level on the ground. If it’s tilted or wobbly, it can cause unnecessary vibration and noise. You can use a level to check the alignment and adjust the feet as needed.
- Inspect the drum: Check for any cracks, dents, or other damage on the dryer drum. If you find any issues, contact a professional to repair or replace the drum.
- Lubricate moving parts: Some dryers have moving parts that require lubrication to reduce friction and noise.
- Tighten screws: Over time, screws can become loose, causing the dryer to vibrate and make noise. Inspect all screws and tighten them as needed.
- Check the belt: A worn or damaged belt can cause a lot of noise.
- Clean the lint filter and exhaust vent: A clogged lint filter or exhaust vent can cause the dryer to work harder than it needs. Clean the lint filter before every load and check the exhaust vent regularly to ensure it’s clear of lint and debris.
- Check the motor: A faulty motor can also cause excessive noise. If you suspect the motor is the issue, contact a professional to diagnose and repair it.
Clean a Clothes Dryer Vent
Cleaning your clothes dryer vent is an important task that can help prevent dryer fires, increase energy efficiency, and extend the lifespan of your dryer.
- Unplug the dryer: To avoid electrocution, unplug the dryer before beginning cleaning.
- Locate the vent: Find the vent on the back of the dryer. It’s typically a small, round hole with a cover.
- Remove the cover: Take the vent cover off using a screwdriver.
- Clean the vent: Any lint or dust that has settled inside the vent should be vacuumed away using the crevice tool attachment. You can also use a long-handled brush to loosen any stubborn lint.
- Clean the exhaust hose: To clean the dryer’s exhaust duct, first, detach the hose from the back of the machine.
- Reconnect the hose and vent cover: Reattach the exhaust hose to the dryer and secure it with a clamp. Replace the vent cover and secure it with screws.
- Clean the lint filter: Remove any lint by hand or use a soft-bristled brush to clean it. This should be done before every load to prevent lint buildup.
By cleaning your clothes dryer vent regularly, you can ensure your dryer runs efficiently and safely. It’s recommended to clean your dryer vent at least once a year.
Central Air Conditioning Fixes
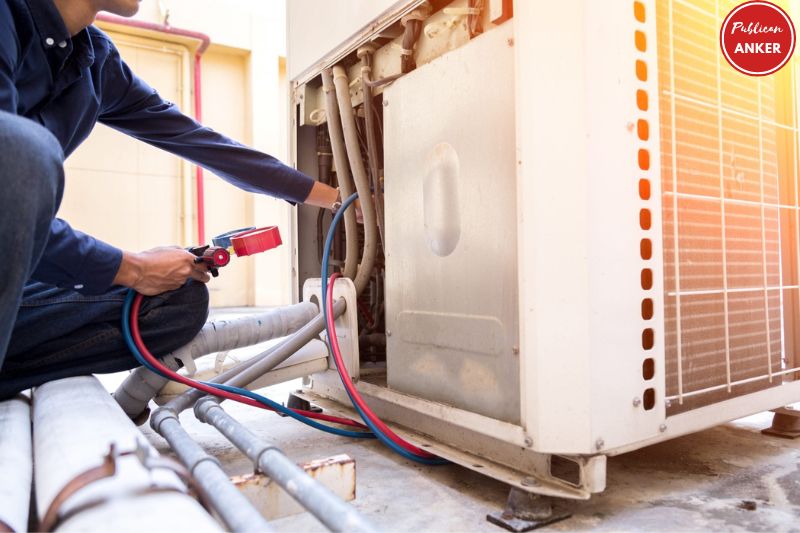
- Check the thermostat: Set the thermostat to a temperature lower than the current outside and the “cool” setting, and leave it there. Check the thermostat’s battery life as well.
- Check the air filter: A dirty air filter can restrict airflow and cause the system to work harder than necessary. Check and replace the air filter regularly, typically once every 3 months.
- Check the circuit breaker: If the air conditioner won’t turn on, the circuit breaker may be tripped. Reset it if needed.
- Check the condensate drain: The condensate drain removes the water that the system produces. If the drain is clogged, water will back up and the machine will have to be turned off. Clear any clogs from the drain line.
- Check the outdoor unit: Ensure the outdoor unit is not obstructed by debris or overgrown vegetation. Clean any debris or dirt that may have accumulated on the coils. If there are any problems with the system, they may check it thoroughly and find them.
Test Your A/C Unit
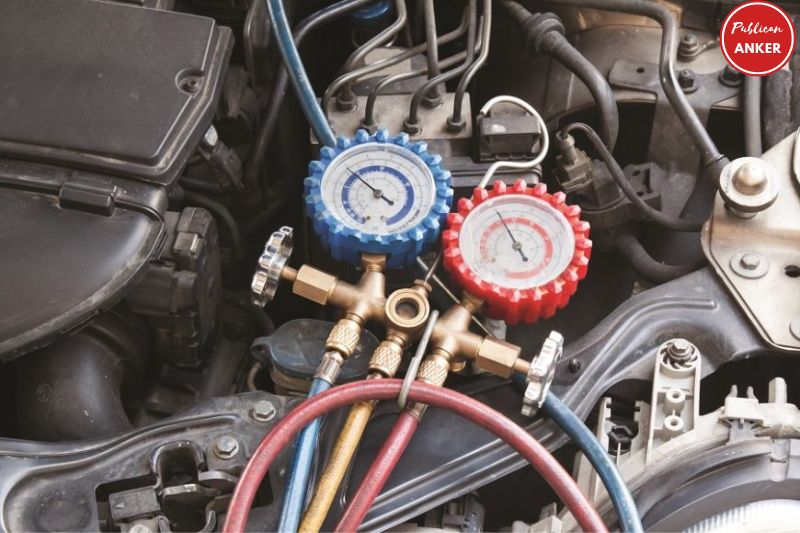
- Turn off the power supply: Be sure to disconnect the air conditioner from its power source before beginning maintenance. This is typically done by flipping the circuit breaker in your electrical panel.
- Clean the air filter: A dirty air filter can cause your A/C unit to work inefficiently, so it’s important to clean or replace it regularly. Take out the air filter and check if it’s dirty. If it is, clean or replace it as needed.
- Check the thermostat: It’s important to reduce the thermostat setting from the present room temperature and the “cool” setting.
- Turn the power back on: After the air conditioner’s thermostat has been checked and the filter has been cleaned, power can be restored.
- Listen for unusual sounds: Turn on the A/C unit and listen for any unusual sounds like rattling, buzzing or humming. These sounds may indicate a problem with the unit, such as loose parts or faulty electrical components.
- Check the airflow: Make sure that air is flowing out of the vents. If not, there may be a problem with the ductwork or fan motor.
- Monitor the cooling performance: Test the efficiency of the air conditioner by letting it run for a while. There might be an issue with the compressor or refrigerant levels if the blown air is not cold.
- Check the condenser unit: If the A/C unit is still not working correctly, check the condenser unit located outside. Make sure that it’s free of debris and that there’s no damage to the fins or coils.
- Contact a professional: If you’ve already done all of that and your AC is still acting up, it’s definitely time to call a repairman.
Clean Air Filters
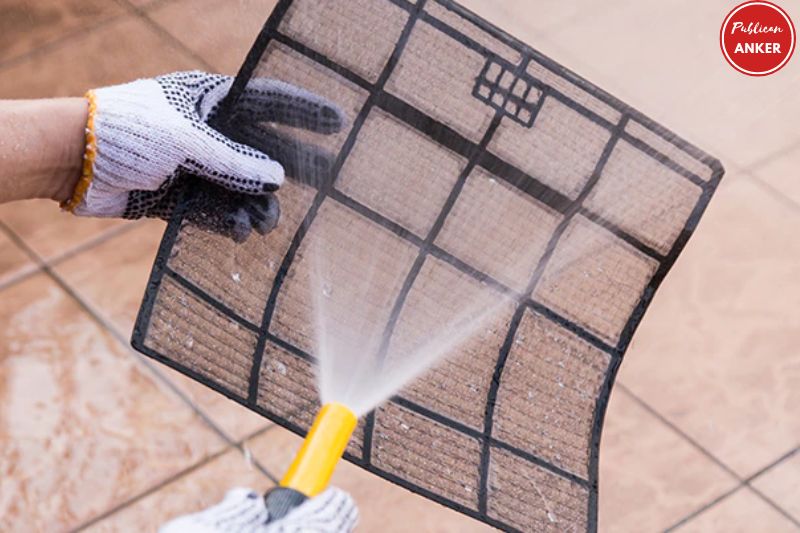
- Turn off your HVAC system. To avoid any mishaps, turn off the HVAC system before removing the filters.
- Locate the air filter. The location of the air filter can vary depending on the type of HVAC system. Typically, it will be located behind a panel on the furnace or in the air return duct.
- Remove the air filter. Gently pull the air filter out of its slot or housing. Some filters will simply slide out, while others may require you to unscrew a cover to access the filter.
- Inspect the filter. Examine the filter thoroughly to see if there is any damage or excessive dirt accumulation. It can be cleaned if it is soiled but otherwise in good shape.
- Clean the filter. Using a vacuum cleaner with a brush attachment to carefully remove dust and debris from the filter is the easiest and most popular way. The filter can also be washed with running water, but it must be allowed to dry thoroughly.
- Reinstall the filter. Once the filter is clean and dry, slide it back into its slot or housing. Make sure it is seated securely and the cover is in place if necessary.
- Turn on the HVAC system. You may enjoy fresher air once you’ve replaced the filter and restarted the HVAC system.
Dishwasher Fixes
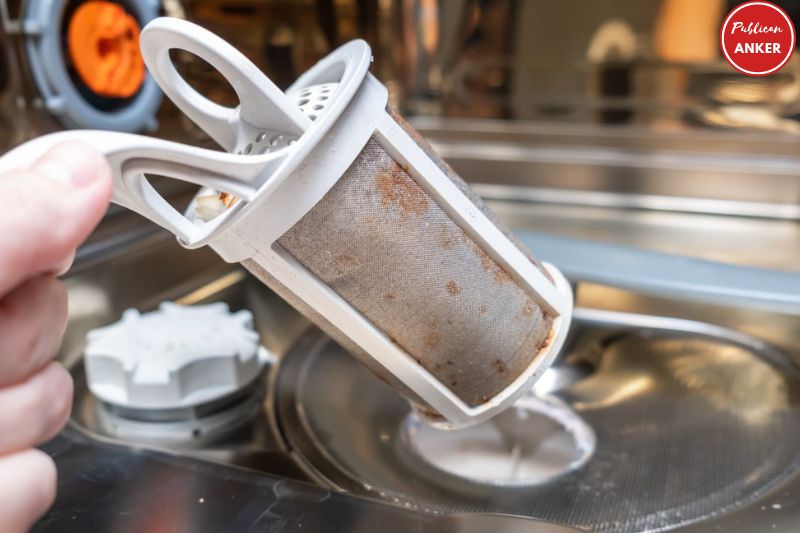
Clear Clogged Food in Dishwasher
- Turn off the dishwasher: To avoid any potential electrical hazards, please switch off the dishwasher and disconnect it from the wall before proceeding.
- Remove the dishwasher racks: Take out the dishwasher racks and carefully examine them for any food debris.
- Clear the dishwasher drain: Clear any food debris or other items that may be blocking it with a soft brush or toothbrush.
- Use vinegar and baking soda: Run a hot water cycle with 1 cup of white vinegar added to the dishwasher. This will help loosen and break down any clogged food. One cup of baking soda should be sprinkled on the bottom of the dishwasher once the cycle is finished, and another hot water cycle should be performed. This will help neutralize any odors and remove any remaining debris.
- Check the dishwasher spray arms: The dishwasher spray arms are responsible for spraying water onto your dishes. Check them for any clogs or debris. Use a toothpick or other small object to carefully remove any blockages.
- Run the dishwasher again: Once you’ve cleared any clogs and debris, run the dishwasher again to ensure that everything is working properly.
Gas and Electric Stove Fixes
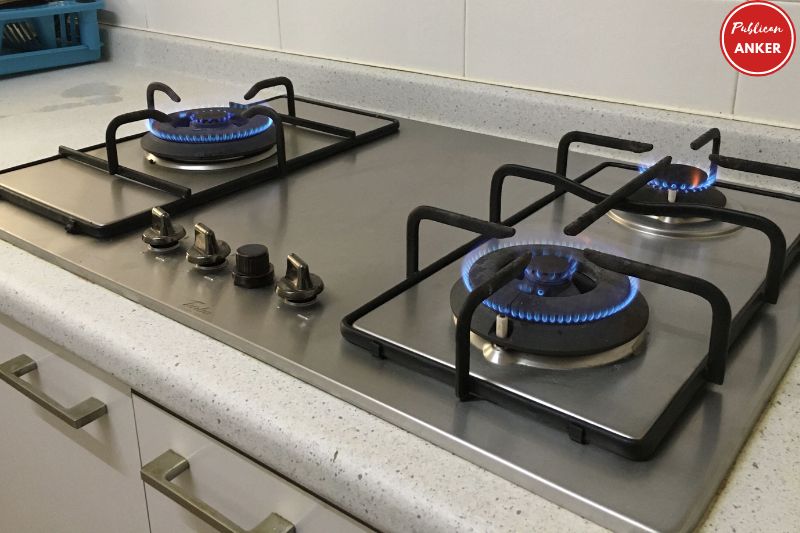
Gas stove fixes
- Check the gas supply: If your gas stove isn’t working, check to make sure the gas supply is turned on. You can do this by checking the valve at the source or by checking your gas meter.
- Clean the burners: Sometimes, burners on gas stoves can get clogged with debris, preventing them from lighting properly.
- Check the igniter: If the burners aren’t lighting, it could be due to a faulty igniter. Check to see if the igniter is sparking when you turn on the burner.
- Check the gas line: If you’re still having issues, it could be due to a problem with the gas line. Check the gas line for any leaks or blockages.
Electric stove fixes
- Check the power supply: You should double-check the plug and the circuit breaker if your electric range isn’t heating up.
- Clean the burners: If your electric stove has coils or burners, they can sometimes get clogged with debris. Use a wire brush or toothbrush to clean the burners.
- Check the heating elements: It’s possible that the heating components are broken if the burners aren’t getting hot. See whether there is any obvious discoloration or damage to the components.
- Check the temperature sensor: If your electric stove has a temperature sensor, it could be faulty. Check the sensor for any visible damage or wear.
- Check the control board: If none of the above fixes work, it could be due to a problem with the control board. Check the control board for any visible damage or wear.
Again, these are general tips and not specific instructions for every make and model of the stove.
Read more:
- How To Build A Motorized Beer Cooler? Top Full Guide 2023
- How To Get Smell Out Of Cooler? Step By Step Guide 2023
- How Much Does a Refrigerator Weight? 6 Reason Why: Full Guide
FAQs
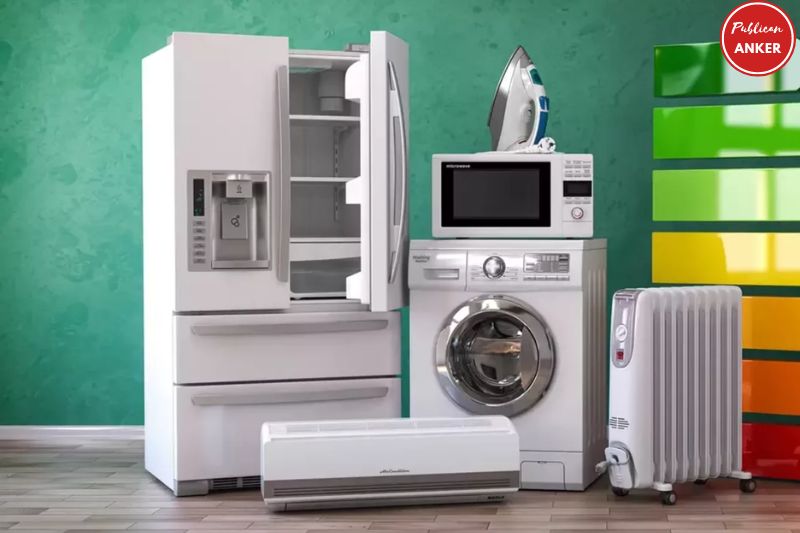
What Are Some Common Small Home Appliances That Can Be Repaired?
Some common small home appliances that can be repaired include toasters, blenders, coffee makers, mixers, and vacuum cleaners.
How Do I Repair A Toaster That Won’t Toast?
First, unplug the toaster and remove any crumbs from the slots. Then, check the heating elements for damage and replace them if necessary.
How Do I Repair A Blender That Won’t Blend?
Check the blades to make sure they’re properly connected and not blocked by food debris. If the motor isn’t running, check the power source and make sure the blender is properly assembled.
There may be an issue with the motor or wiring, which will require professional repair.
How Do I Repair A Coffee Maker That Won’t Brew?
Check the power source and make sure the water reservoir is properly filled. If the coffee maker still won’t brew, there is an issue with the heating element, pump, or valve, which will require professional repair.
How Do I Repair A Mixer That Won’t Mix?
Check the power source and make sure the mixer is properly assembled. If the beaters aren’t turning, there may be an issue with the motor or gears, which will require professional repair.
How Do I Repair A Vacuum Cleaner That Won’t Suction?
Check the filter and dustbin for blockages and clean them if necessary. If the vacuum cleaner still won’t suction, there may be an issue with the motor, hose, or attachments, which will require professional repair.
Conclusion
Knowing how to repair small home appliances can be a valuable skill that saves you time, money, and frustration.
While some repairs may require the expertise of a professional technician, many common issues can be easily resolved with some basic troubleshooting and maintenance.
