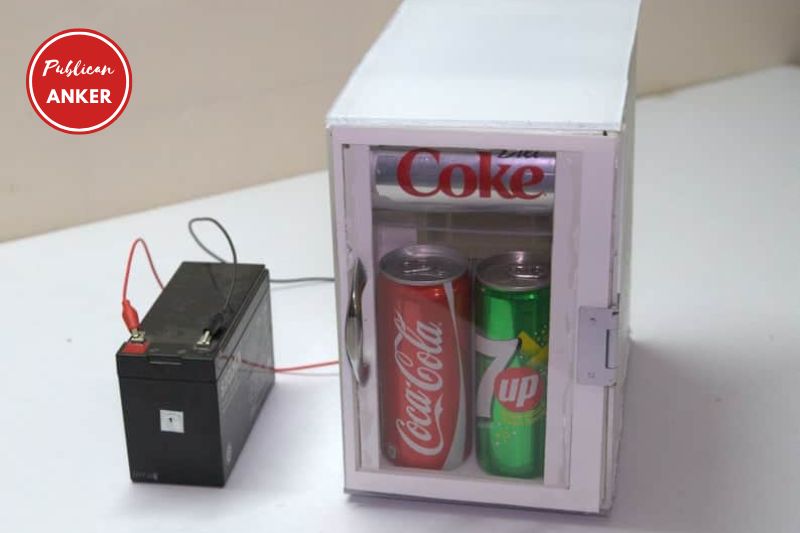
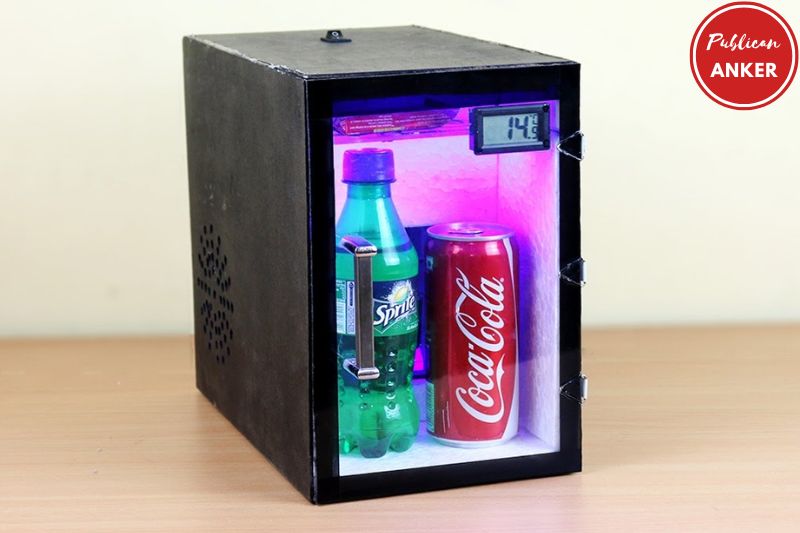
If you go out but have nothing to keep food cold, you often wonder how to build a refrigerator to keep food cold without using electricity.
Publican Anker will guide you to make a makeshift refrigerator that can keep cold without plugging in. It’s hard to believe. Watch until the end of the tutorial to satisfy all your curiosity.
How does Refrigerator Work?
Refrigerators work by using a process called the refrigeration cycle. This is when a substance is cooled and reheated to create a temperature difference.
In a fridge, this happens when the Freon gas is compressed and passed through a series of coils. The coils cause the gas to expand and cool.
As it does so, it absorbs heat from the air inside the fridge. This cooled air is then circulated in the fridge, keeping the contents inside cool.
How to Build Your Own Refrigerator

Building your refrigerator is becoming more attractive as new kitchen appliance prices continue rising.
This process can be more difficult than buying a new refrigerator. You may keep recyclable trash out of landfills by constructing a new fridge using components from an old one.
Step 1
To find a refrigerator that is not in working order, check secondhand shops, junk shops, and classified ads sections of your local newspaper.
Since you’ll operate the vehicle, its condition is irrelevant. You can also leave them outside in bad condition, as you will only salvage the interior storage compartment.
Step 2
You must remove the refrigerator doors to access the air conditioning components. Once the doors have been removed, locate and remove the wire that activates your door light.
This will allow you to reuse it. Take out all fans, wires, and mechanical components.
The compressor, the evaporator, and any dehumidifiers are all included in this group. Take out all these components from the junk refrigerator.
Step 3
Take the freezer out of the refrigerator. A chest freezer is cheaper and has more space. It’s just not practical to keep a freezer in a home refrigerator.
You can use chalk to trace a line around the fridge, just above the storage compartment. To completely remove the freezer compartment, use a circular saw. You must cut through the outer skin, insulation, and interior surface.
Step 4
Make a platform frame to support your refrigerator. To build a platform, use 2-by-4-inch studs. Then raise the bottom 12 inches from the floor with the studs. This gives the refrigerator more space below and makes it more comfortable.
Add two sheets of foam insulation to the frame to prevent cool air from getting through your refrigerator’s bottom.
Step 5
All sides of the storage container should be covered with foam insulation. Attach foam insulation sheets to your storage box’s sides and top with spray adhesive or hot glue.
Return the wire from the door light and run it through the insulation. A later process will include connecting this cable to the source of electricity. Now your storage box can be converted into a refrigerator unit.
Step 6
Get the necessary parts to cool the air in your storage container. You will need a compressor, evaporator, and some thermostat control.
The Danfoss BD-50 is the most efficient compressor. This compressor can be used in a variety of DC-powered refrigeration kits.
A Super Cold Machine or similar starter kit can be ordered from R Parts Refrigeration Parts Solutions or any other marine supply store.
Step 7
You will need to find a location to set up the condensing units for your refrigerator. It should be placed away from the fridge if possible.
You can mount the condensing unit into the basement rafters if you have a basement.
Step 8
The thermostat and evaporator should be installed inside the storage compartment. You will need a drill bit measuring 1 1/2 inches to drill a hole through the insulation foam installed on the box’s outside.
The idea is to drill a hole in the box’s upper right or left corners.
Attach the evaporator tube to the refrigerator by pushing it into the hole at the back.
You can do this by placing the tube on top of the port on your evaporator and then tightening it with a screw clamp. Install the thermostat on the evaporator and connect it to the unit. Seal the hole with putty when you are done.
Step 9
Connect the condensing device to the evaporator.
Ensure the tube you connected to the evaporator during the previous step is long enough to reach the condensing unit. Connect this tube to your unit according to manufacturer instructions.
You can do this by sliding the tube over the receiving port and tightening the screw clamp to hold it in place.
Step 10
Connect the power supply. Your evaporator, thermostat, and other components will all come with a fuse power supply.
The power supply connects your condenser and evaporator to form a DC power unit. It can use either 12 volts, 24 volts, or both.
The power supply can then be connected to a standard vehicle battery. This can be changed manually with a charger or set up to recharge using solar energy automatically.
Step 11
A wood veneer can be added to the refrigerator. Even though the refrigerator can be used with only foam insulation, it will still function well.
However, it will look better if you add a veneer face to it. To give your refrigerator an appealing exterior, you can use 1/4-inch oak plywood.
Use construction adhesive-like liquid nails to attach the plywood sheets to the fridge’s exterior. Before installing the plywood, you may want to stain or varnish it.
How To Make A Natural Refrigerator?

Natural Refrigerator with Easy to Find Materials
This should be no surprise if you studied evaporation in depth in school.
Evaporation’s cooling effects are its foundational premise. Think back on the most recent time you encountered the spirit of medicine.
It evaporates faster than water because of its lower boiling point. This leaves behind the cooling effect that we are referring to.
Pour some on your skin, and watch the cooling effect. As the liquid evaporates, you should feel a cool sensation. We will now use a paint bucket to make this natural refrigerator.
This bucket will be our outermost layer. Ensure you have a clay container that will fit in the bucket. The bucket is then filled with sand until it is a quarter full.
This will explain the science at the end. The clay pot that we have chosen will be placed inside the bucket.
Add more sand to the bucket until the clay pot has been completely submerged. Make sure there is no sand in the pot. We don’t want any items inside to be covered in sand.
Two towels will be needed once that’s done. The other towel will be wrapped around the pot and placed on top of any sand. It would help if you did not cover the clay pot’s top.
Next, add water to the towel. The water will slowly drain into the sand beneath it. This is what we want.
You can pour water directly into the sand or use a towel. We are trying to achieve gradual cooling. This would take longer if the water evaporates slowly.
Here is where you put anything that will stay fresh in the clay pot.
In the conditions described here, vegetables are the most durable. The maximum time that perishable goods can last is 24 hours. Finally, you can cover the entire bucket with a damp towel.
It was 44 degrees Celsius outside when the experiment was completed. After one hour, the temperature in the clay pot reached 26.9 degrees Celsius.
The temperature dropped to 17.3 degrees after three hours. This data shows that the temperature has been gradually dropping. We must add more water to the space once the water has dried out completely.
DIY Refrigerator with the Sun and a Wet Towel

- Choose a Container: First, choose a container as the refrigerator. A cooler, a large plastic container, or a wooden box can work.
- Create an Insulation Layer: Make a barrier around the container from insulating materials like foam or fiberglass. It will assist in insulating against the cold and the heat.
- Wet a Towel: Wet a towel and wring it out until it’s damp but not dripping. Then, drape the towel over the container and let the ends hang to the ground.
- Place the Container in the Sun: Place the container in a sunny spot with the towel hanging over it. The towel will help to cool the container as it evaporates, similar to how sweat cools your skin.
- Monitor the Temperature: Check the container’s temperature regularly with a thermometer. You can adjust the position of the container or the towel as needed to maintain the desired temperature range.
This DIY refrigerator works by evaporative cooling, the same principle that makes you feel cooler when you sweat.
The wet towel evaporates, drawing heat from the container and cooling it. The towel must be rewetted periodically as the water evaporates to keep the cooling process going.
This homemade fridge may not keep food as cold as a commercial unit, but it will do in a pinch if you’re without power.
It’s also a fantastic method for recycling paper towels and empty containers. Using the power of the sun and a damp towel, you can make your refrigerator to store perishables.
FAQs

What Do You Need to Build a Fridge?
Things you’ll need:
- Junk refrigerator
- Wire cutters.
- Basic toolset.
- Chalk.
- Circular saw.
- Boards 2-by-4 inches
- Foam insulation sheets.
- Compressor.
What components do I need to build a Peltier/TEC fridge?
Peltier/TEC refrigerators require a temperature sensor, DC power supply, insulated wires, thermal paste, heat sink, and cold sink.
How do I choose the right Peltier/TEC module for my fridge?
You should choose a Peltier/TEC module based on its cooling capacity, voltage, and current rating. Select a module that can provide enough cooling power for your fridge.
How do I make sure my fridge is safe to use?
Wear protective clothing, avoid water and other liquids, and prevent electrical shocks when constructing and using your refrigerator.
Can I use a regular power supply for my fridge?
You should use a DC power supply that can provide enough voltage and current for your fridge.
Check the voltage and current ratings of your Peltier/TEC module and choose a power supply that meets those requirements.
How can I improve the cooling performance of my fridge?
You can improve the cooling performance of your fridge by using a larger heat sink and cold sink, optimizing the insulation, and using a more powerful Peltier/TEC module.
You can also experiment with different cooling agents and refrigerants to optimize the cooling performance.
How do I maintain my fridge?
You should clean your fridge regularly and replace any worn or damaged components. Your refrigerator will last longer if you keep it in a cold, dry area while it’s not in use.
Can I use my DIY fridge for commercial purposes?
You should check local regulations to determine if your DIY fridge meets commercial use safety and performance requirements. In most cases, a commercial refrigerator will be required for commercial purposes.
How Can I Make a Refrigerator Without Electricity?
Here’s how you make it: You will need two unglazed ceramic pots, one that fits inside the other.
Put some sand in the bottom of your bigger container. Place the smaller pot into the larger one. Sand should be used to fill the spaces between the pots. Add water to the sand.
How Much Does it Cost to Build a Refrigerator?
Installing a built-in refrigerator is expensive. Installing a built-in fridge is between $2,900 and $6,130. It includes both labor and the appliance. Built-in refrigerators are the most expensive and can be installed for $130 to $3900.
Conclusion
You can save costs significantly by using this strategy. It is not as good as official refrigerators, but it can provide cooling for situations without a refrigerator or refrigerator.
This method can create a temporary refrigerator, but it is not as functional as a modern refrigerator. Publican Anker will monitor and filter all questions. The article will benefit greatly from your suggestions for improvement.
Maybe You Need To Know:
